 WWW.ROUSES.COM
9
FRIED TURKEY
T
here will come a time in every family Thanksgiving timeline
when somebody suggests a little tweak to time-honored
tradition — “Why don’t we
fry
the turkey this year?”
This homegrown technique seems perfect for adventurous cooks
along the Gulf Coast. After all, it sprouted from our crawfish boil
and fish-fry traditions, and yields a perfectly cooked bird — moist
white meat and tender dark meat with crackle-crisp skin all around.
But executing a perfectly fried bird is a good deal more complicated
than the traditional “bake and baste” technique.The simple fact that
you’re dealing with gallons of hot oil, a high-pressure open flame and
unwieldy poultry means fried turkey is a very different ball game.
(For proof, do a Google search for “turkey frying accidents”and you’ll
see a cavalcade of greasy infernos, house-scorching fireballs and first-
timers setting their carports aflame while their neighbors film the
whole thing.)
Master of the Flame(s)
When it comes to deep-fried turkeys, you want to avoid potentially
life-threatening rookie mistakes, so it helps to learn from a trained
professional. And for this we enlisted the help of the most qualified
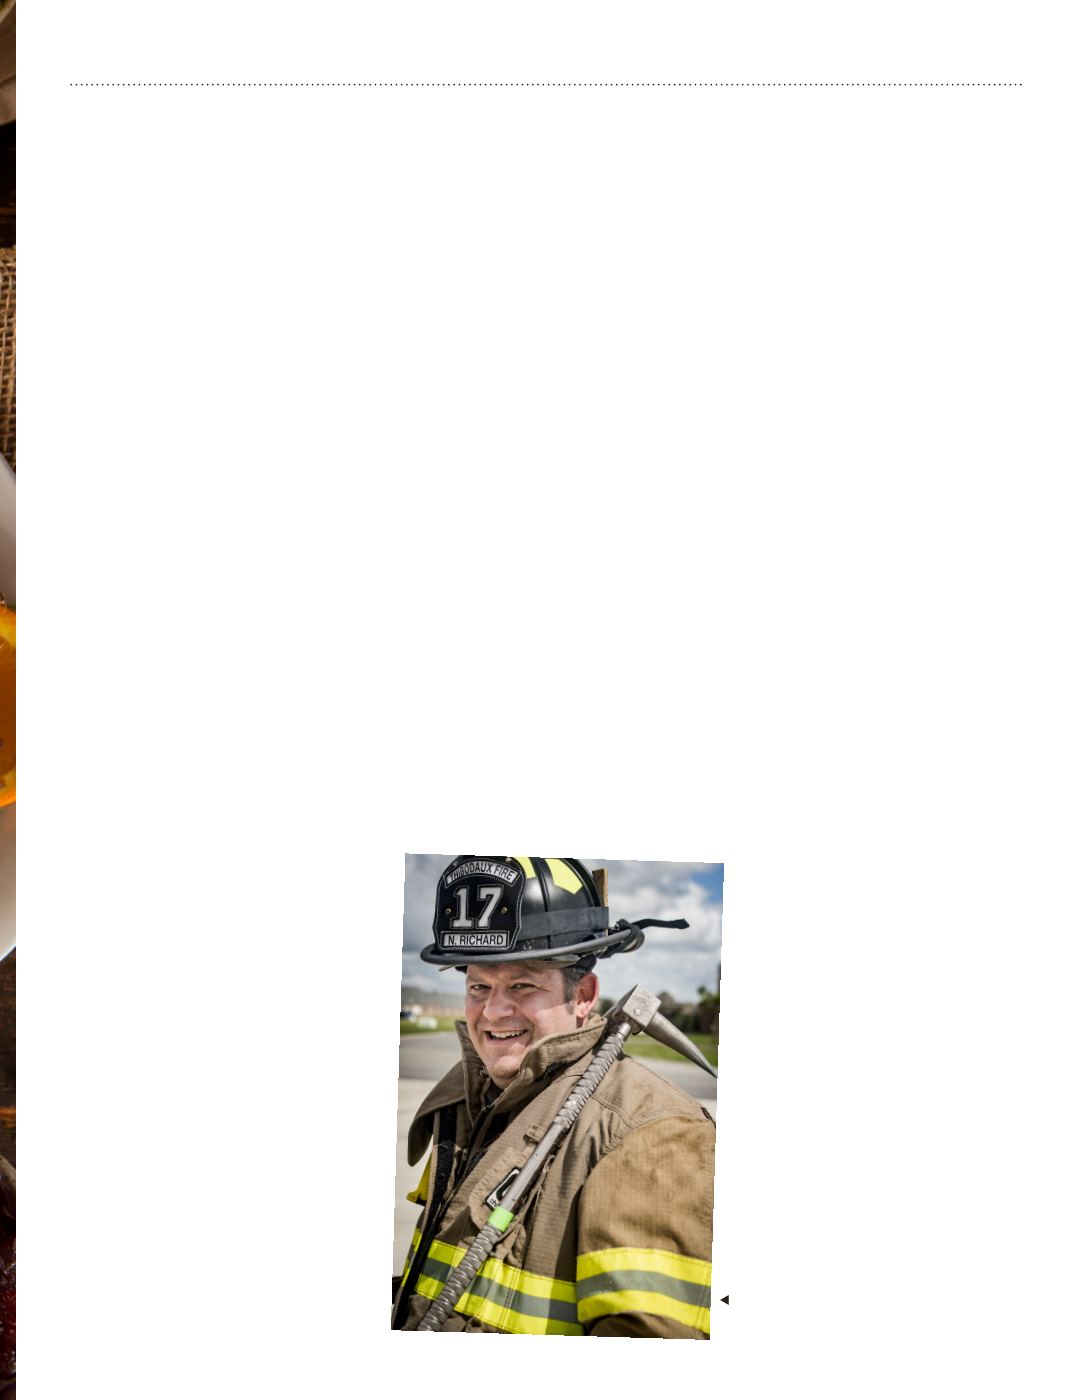
person we know, Chef Nathan Richard of Cavan Restaurant in New
Orleans.
In addition to being a chef, Richard is also a 15-year veteran of the
volunteer fire department in his hometown of Thibodaux.
As a teenager, Chef Nathan joined the department and studied Fire
Science at Delgado Community College with the goal of becoming
a firefighter and arson investigator. In the course of his studies, he
got inspired by a part-time job at Commander’s Palace and instead
pursued a life in the restaurant kitchen.
In the years since, Richard has remained an active volunteer fire-
fighter — and so has extensive experience with flames, both con-
trolled and uncontrolled. This combination of skills and experience
makes him the perfect guide to teach you how
to properly (and safely) fry a turkey at home.
The Key: Take Your Time
One of the most-mentioned advantages
to a deep-fried turkey is its cooking speed
(approximately 3-4 minutes per pound rather
than the 15-20 minutes per pound required
for roasting). But the frying technique also
requires a fair amount of time-intensive prep
work to assure home safety and a tasty final
product.
To this point, Chef Nathan suggests that
first-time cooks think about the fry as a 3-day
process — with little bits of homework that
have to be completed before you spark the
burner onThanksgivingThursday morning.
“I always make sure the bird thaws for at least
3 days in the fridge. Ice crystals deep in the
bird can cause a grease fire, so give it plenty
of time to unfreeze.”
A long thaw time prevents potentially
explosive water/grease contact — a critical theme that we’ll see
echoed often during the prep and frying process.
Stage 1: Monday Night
Buy the right bird.
If you’re accustomed to a Norman Rockwell-
style, 20-pound roasted turkey on the table, you’ll need to adjust your
expectations for the fried variety. “For frying, the smaller the bird, the
better,” Chef Nathan says. “Look for something in the 8-10 pound
range, because you want it to fit in that fryer with room to spare.Give
it room to move, because you don’t want the wings to get caught on
the edge of the basket.”
Start the thaw.
Begin the long, slow thaw by putting the unwrapped
frozen turkey(s) in a deep baking pan in the refrigerator. Over time,
the turkey will go from rock-hard to pleasantly pliable; it’ll just take
time. Remember: Patience is key.
Stage 2: Tuesday
Check your equipment.
The standard outdoor cooking tools for
turkey frying might look a lot like your uncle’s crawfish boiling rig,
but the differences are just pronounced enough to require special
attention.
Take a few minutes and read the instructions for your fryer, and
follow all manufacturer’s instructions carefully.
The “gas and burner” situation is usually identical to the crawfish
boiling rig; so in this venture, too, you must make sure there’s plenty
of gas in the tank, and that the flexible hose is just the right length
(too short and it could pull the pot, too long and someone could trip
and tip the whole rig over).
“Also make sure you’ve got a couple of different thermometers (one
for oil temperature and a digital probe to test meat doneness),” he
says, “And get your safety equipment: a set of fireproof welder’s gloves
and a multipurpose (ABC rated) fire extinguisher. It’s better to think
about safety
before
you get started.”
Scout your fryer site.
Make sure that
the spot where you’re placing your rig
is
FAR AWAY
from anything that can
possibly go up in flames including (but
not limited to) houses, garages, trees,
fences, overhead power lines, wooden
decks, carports.
“The rule is, 15 feet away from any
structure,” he says. “Make sure your
surface is solid. I’ve seen my share of fryer
fires, and you don’t want that.”
Change your oil.
Since you’ll be frying at
325-350 degrees, you’ll want an oil with
a high “smoke point” rating that won’t
break down and get unstable once it’s on
high heat.
“I like peanut oil, but these days a lot
of people are more sensitive to it, so if
you’re worried about allergies, go with
sunflower oil.”
Chef Nathan Richard


